Xiaomi phones are already good at making photos look better before they ever leave the Gallery app.
That is one reason Xiaomi users tend to care about editing workflows. A photo is not just a photo anymore. It might become a wallpaper, a lock screen image, a social post, a product shot, a video cover, or a reference image for something more polished.
Xiaomiui has covered how Xiaomi phones can help users edit photos with tools like cropping, fine-tuning, collage, export controls, and AI tools such as erasing objects or changing the sky. Xiaomi’s own HyperOS pages also show how AI is becoming part of the broader phone experience, from writing and search to image generation and translation.
But there is one thing built-in phone editors usually do not solve on their own: consistency.
If you are building a recurring creator persona, model-style visual set, or product campaign, you do not just need one good image. You need the same face, same style, same lighting direction, and same visual identity across many outputs.
That is where an external AI model workflow can help.
Start with the Xiaomi photo, not the AI prompt
The best AI result usually starts before you open the AI tool.
If you are using a Xiaomi phone, take a few clean reference images first. Do not overthink them. The goal is not to create a perfect studio shoot. The goal is to give the AI model enough visual direction.
Useful reference shots:
- One front-facing portrait in natural light.
- One three-quarter angle.
- One full-body or waist-up shot if you need outfit variation.
- One neutral background shot.
- One image with the mood you want, such as cafe, desk setup, outdoor walk, or product table.
Before uploading or using them as inspiration, edit lightly in the Xiaomi Gallery app:
- Crop away distractions.
- Adjust exposure if the face is too dark.
- Use AI Erase only for obvious background distractions.
- Avoid heavy beauty filters if you want consistent outputs later.
This matters because AI tools tend to amplify whatever you give them. A clean reference helps more than a dramatic one.
Decide what kind of AI persona you actually need
There is a big difference between creating a fun portrait and building a reusable model.
For a one-off image, you can use a simple prompt:
A friendly tech creator holding a Xiaomi phone in soft daylight, clean background, realistic portrait style.
For a reusable persona, write a small style card:
Persona: calm mobile-tech creator
Look: natural portrait, casual clothing, realistic skin texture
Setting: desk, cafe, or clean apartment background
Use case: article thumbnails, app guide covers, short video openers
Avoid: overly glossy fashion lighting, fake luxury props, exaggerated expressions
That style card gives you something to reuse.
For quick character-style visuals, an AI girl generator can be useful for exploring looks, scenes, and portrait concepts. For more campaign-ready consistency, the AI model girl workflow is the better fit because the goal is not just one image. It is a repeatable visual identity.
Build a prompt like a camera note
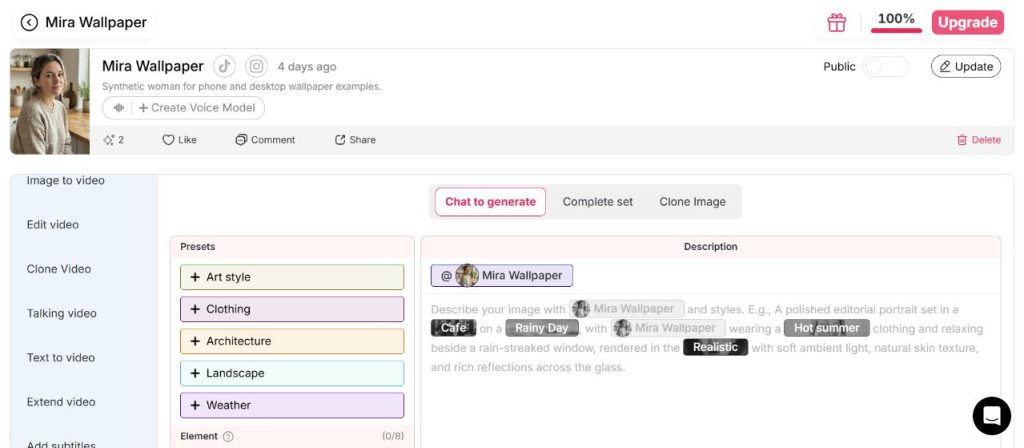
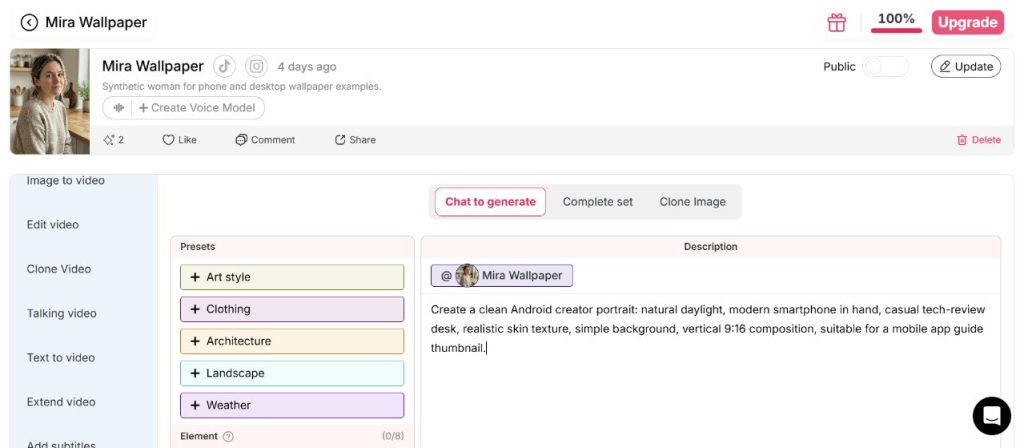
In APOB AI, I used a simple prompt in the model workspace:
Create a clean Android creator portrait: natural daylight, modern smartphone in hand, casual tech-review desk, realistic skin texture, simple background, vertical 9:16 composition, suitable for a mobile app guide thumbnail.
That prompt worked because it sounded like a camera note, not a fantasy description.
For Xiaomi users, I would write prompts around real phone use:
- “sitting near a window editing photos on a Xiaomi phone”
- “holding a smartphone while reviewing app settings”
- “standing near a clean desk setup with soft daylight”
- “casual creator portrait for a HyperOS tips article”
Avoid prompts that are too vague:
- “beautiful AI girl”
- “viral influencer”
- “perfect model”
Those usually produce generic results.
Generate one image first, then refine
When testing a prompt, generate one image first. It is tempting to generate a full batch, but that can waste credits if the prompt is slightly wrong.
For the first test, use:
- 9:16 if the image is for social posts, Shorts, Reels, or phone screens.
- 1:1 if it is for profile images.
- 16:9 if it is for article headers or YouTube-style thumbnails.
- A simple setting before trying complex scenes.
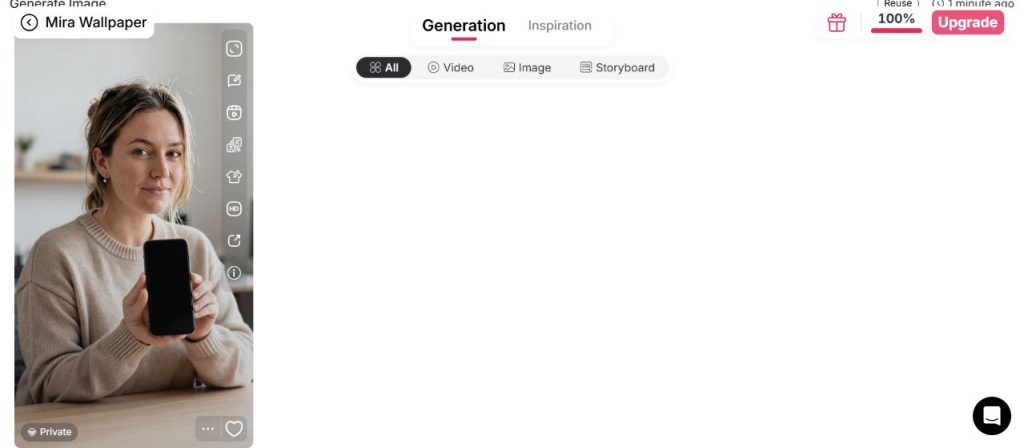
In my test, the generated result was a vertical portrait with a smartphone in hand. It had a natural desk setting, soft light, and enough blank phone-screen space to work as a guide thumbnail or app article visual.
Turn one good result into a content set
Once you get one useful image, do not stop there. Build a small content set around it.
For a Xiaomi or Android guide, I would create:
- A main article image.
- A cropped version for social sharing.
- A lock-screen or wallpaper-style variation.
- A short video opener.
- A thumbnail with more blank space for text overlay.
This is where consistency pays off. If the same model appears across several assets, the article feels more intentional. It also makes the visuals easier to reuse later.
Keep it realistic
AI visuals work best when they support the content instead of pretending to replace reality.
For a Xiaomi phone review, use real device photos. For a camera comparison, use real samples. For a tutorial, use real UI screenshots.
But for concept images, creator thumbnails, lifestyle headers, and campaign visuals, AI model images can save time. The trick is to keep them believable and clearly illustrative.
I would not use an AI model image to imply a real person’s endorsement. I would use it to show a use case: a creator editing on a Xiaomi phone, a user preparing a social post, a clean mobile workflow, or a visual example of AI-assisted content production.
That is a fair and useful role for the technology.
Final workflow
Here is the workflow I would actually use:
- Take a clean reference image on a Xiaomi phone.
- Make light edits in Gallery.
- Write a short persona/style card.
- Generate one test image in APOB AI.
- Refine the prompt based on what looks wrong.
- Create a small set of consistent images.
- Use real screenshots for technical proof, AI visuals for editorial support.
That balance is important. Phone AI tools are great for quick edits. External AI model tools are better for repeatable creative assets. Used together, they give Xiaomi users a faster way to move from photo to polished content without turning every project into a full design job.
Sources:
- Xiaomiui, How to Edit Your Photos Like a Pro Using Xiaomi Phones: https://xiaomiui.net/how-to-edit-your-photos-like-a-pro-using-xiaomi-phones-62553/
- Xiaomi HyperOS: https://www.mi.com/global/hyperos