Recording screen, why do we need this? Some people make gaming videos, some people use it for work, some people produce content, Some want to capture the moment. It is generally necessary for people. This screen recording feature on Xiaomi devices is quite simple. You can also quickly start screen recording while playing a game or watching a video. Also you can change the resolution, quality framte rate of video. let’s come, how to record screen on Xiaomi.
Recording Screen on Xiaomi devices
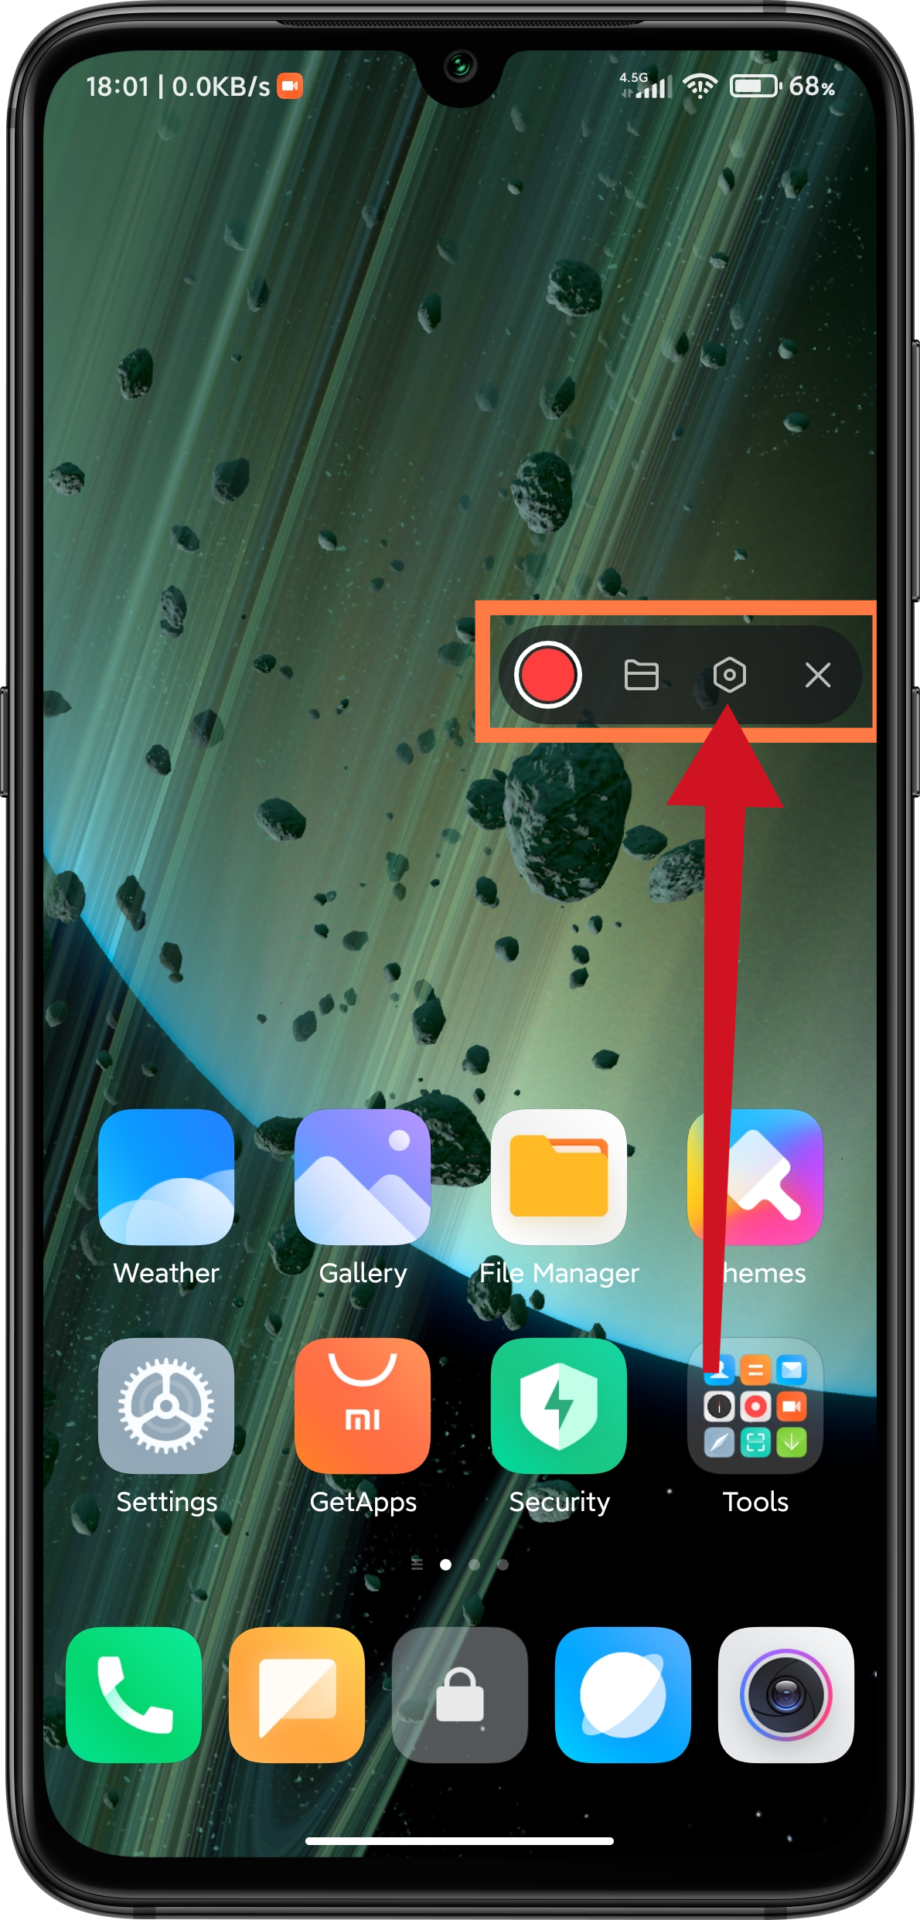
- Firstly open the screen recorder app. Then you will see a pop-up menu. For directly start the recording, tap red button on left. If you want set some settings tap to settings icon for set frame rate, bitrate and etc. of video.

- After opening settings of the recorder, you will see some settings like resolution of video. For changing resolution, tap the resolution button. If you select lower resolution, size of the video will smaller but quality of video will be like mud. But if you select high resolution, size of the video will bigger. And quality of video, will be like glass.


- 2nd section is bitrate of the video. This too, important for video quality. If you select lower bitrate, video will be like mud again. Of course, the video size will be reduced as a plus. But ig you select high bitrate, video quality will increase exponentially. Will also increase in size.


- 3rd sections is sound source. You can set the source of sound. If you select mute, your video won’t has any sound. If you select mic, the video will record all sounds from microphone. If you select system sounds, video will secord only sounds on the system like music, game sounds and etc.


- And open fixed frame rate then select 60 FPS for smoother video. If you select higher frame rate, video will be smoother. And size too increase. But if you select lower frame rate, video will be laggy. And size of video will decrease. If you don’t have 60 FPS section, select higher one.


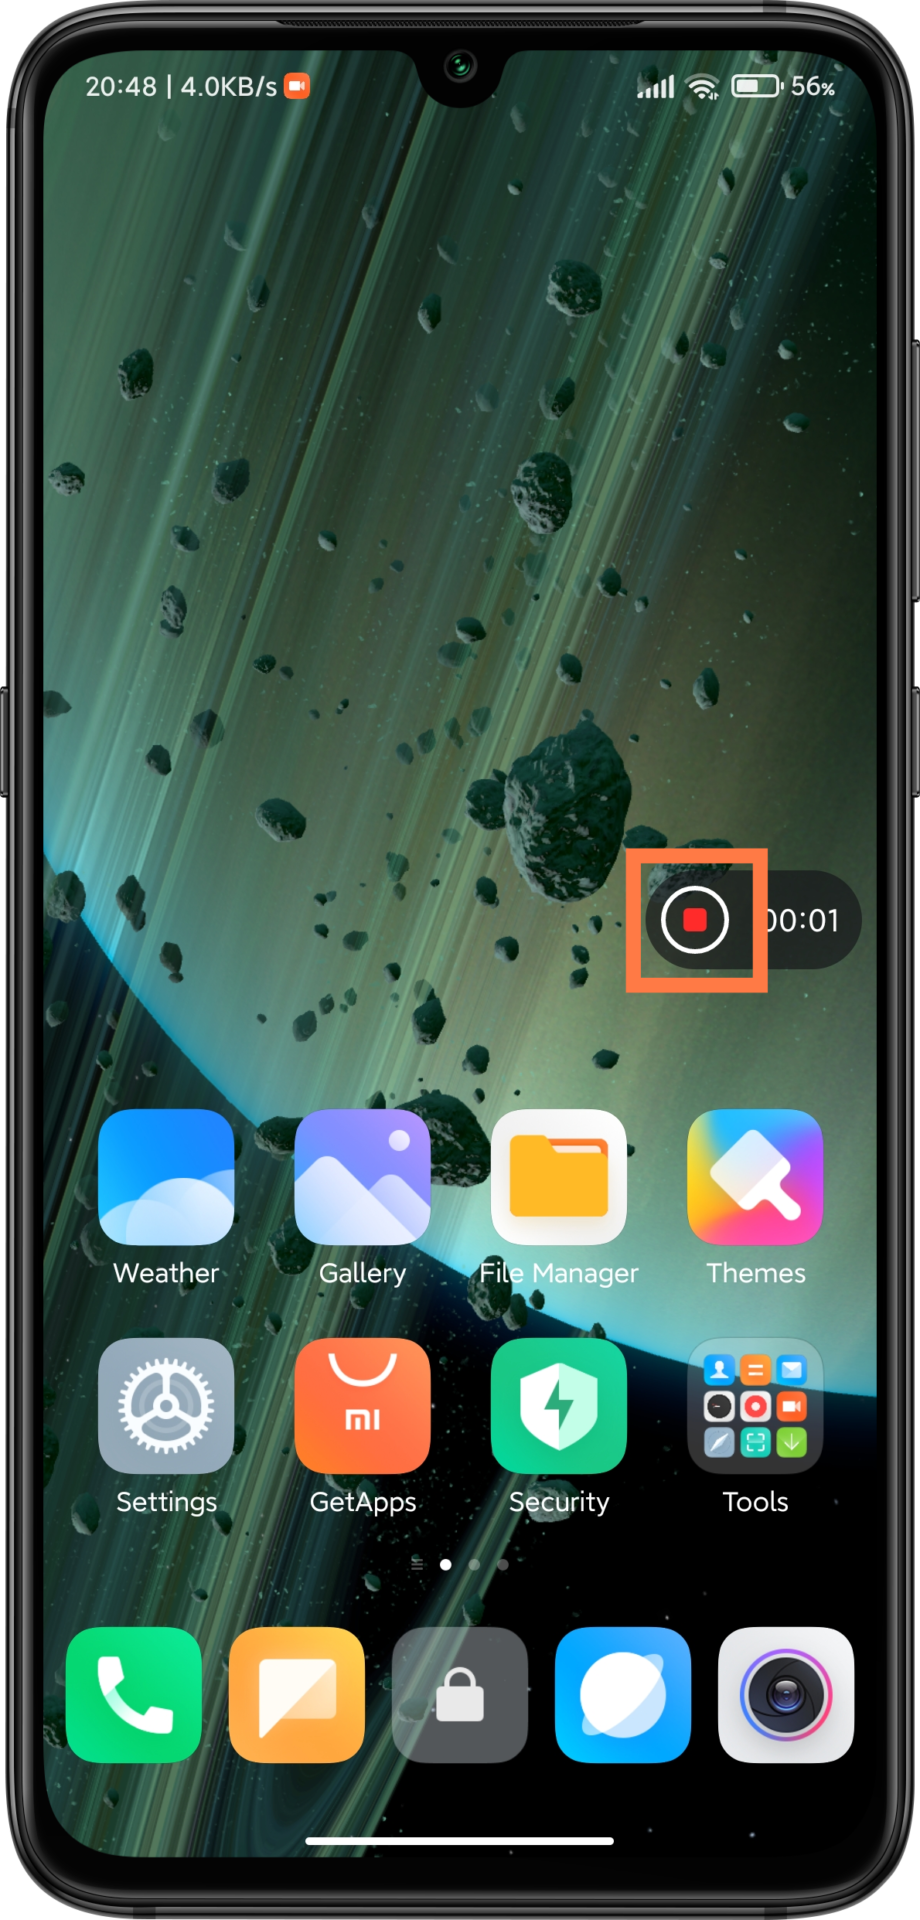
- If you enable “Lock screen to end” If you turn off the screen during screen recording, the video will stop. If you don’t want this to happen, disable this option. “Show touch gestures” opiton is enabling a red circle indicates where you touch the screen. And “Show button taps” section works for writing your actions as text to screen like tap back, go homescreen and etc. And tap the button of marked for stopping the video.

Recording screen on AOSP ROMs (Android 10 and Above)
AOSP don’t have an app like MIUI. AOSP ROMs has a built-in screen recorder. But built-in screen recorder only valid for android 10 and above. anyway, AOSP roms are very easy to record screens and there are no separate settings.
- Firts pull down the QS. And find “record screen” tile. After that a pop-up will appear.
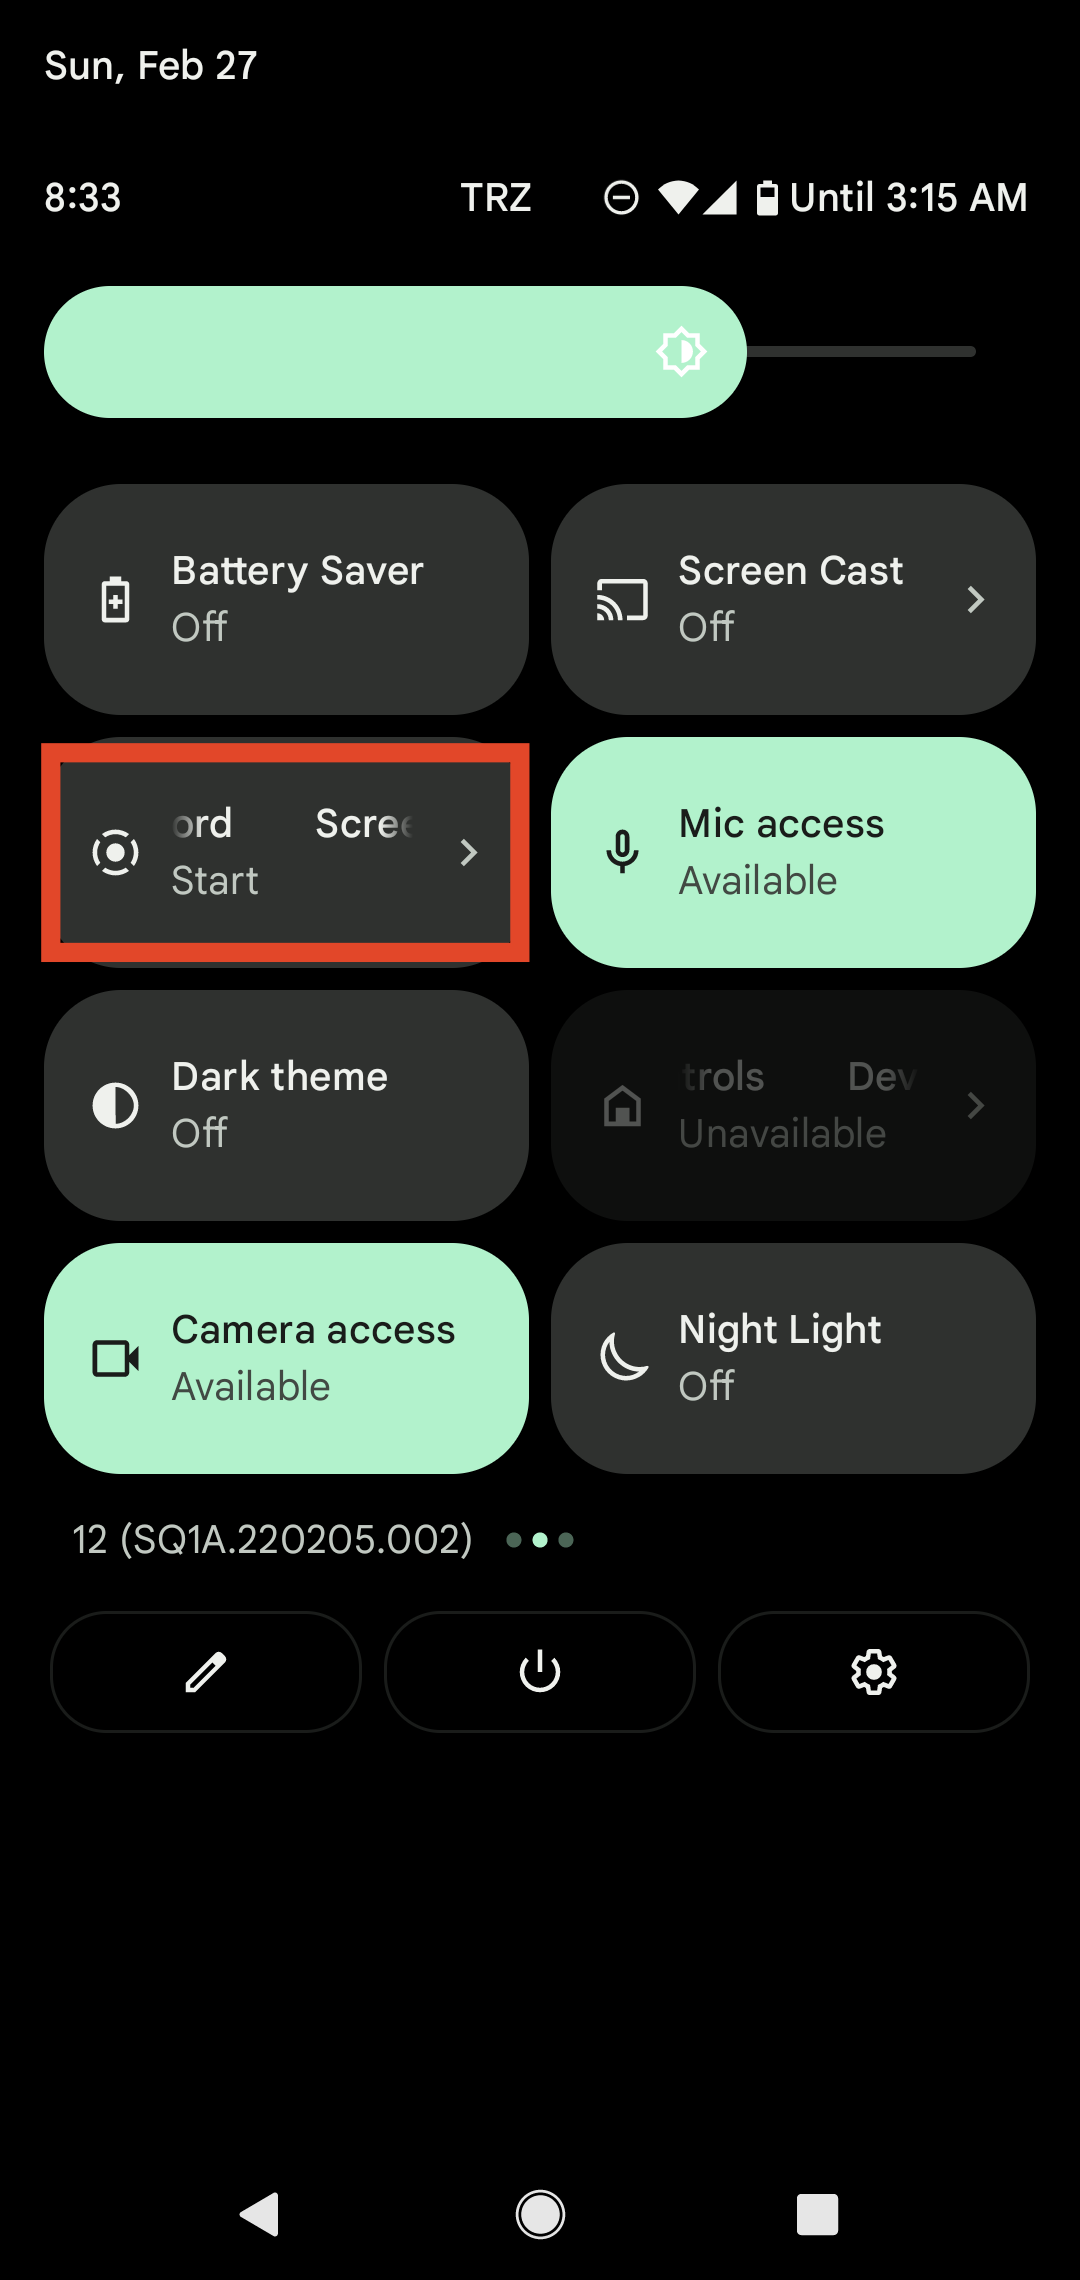
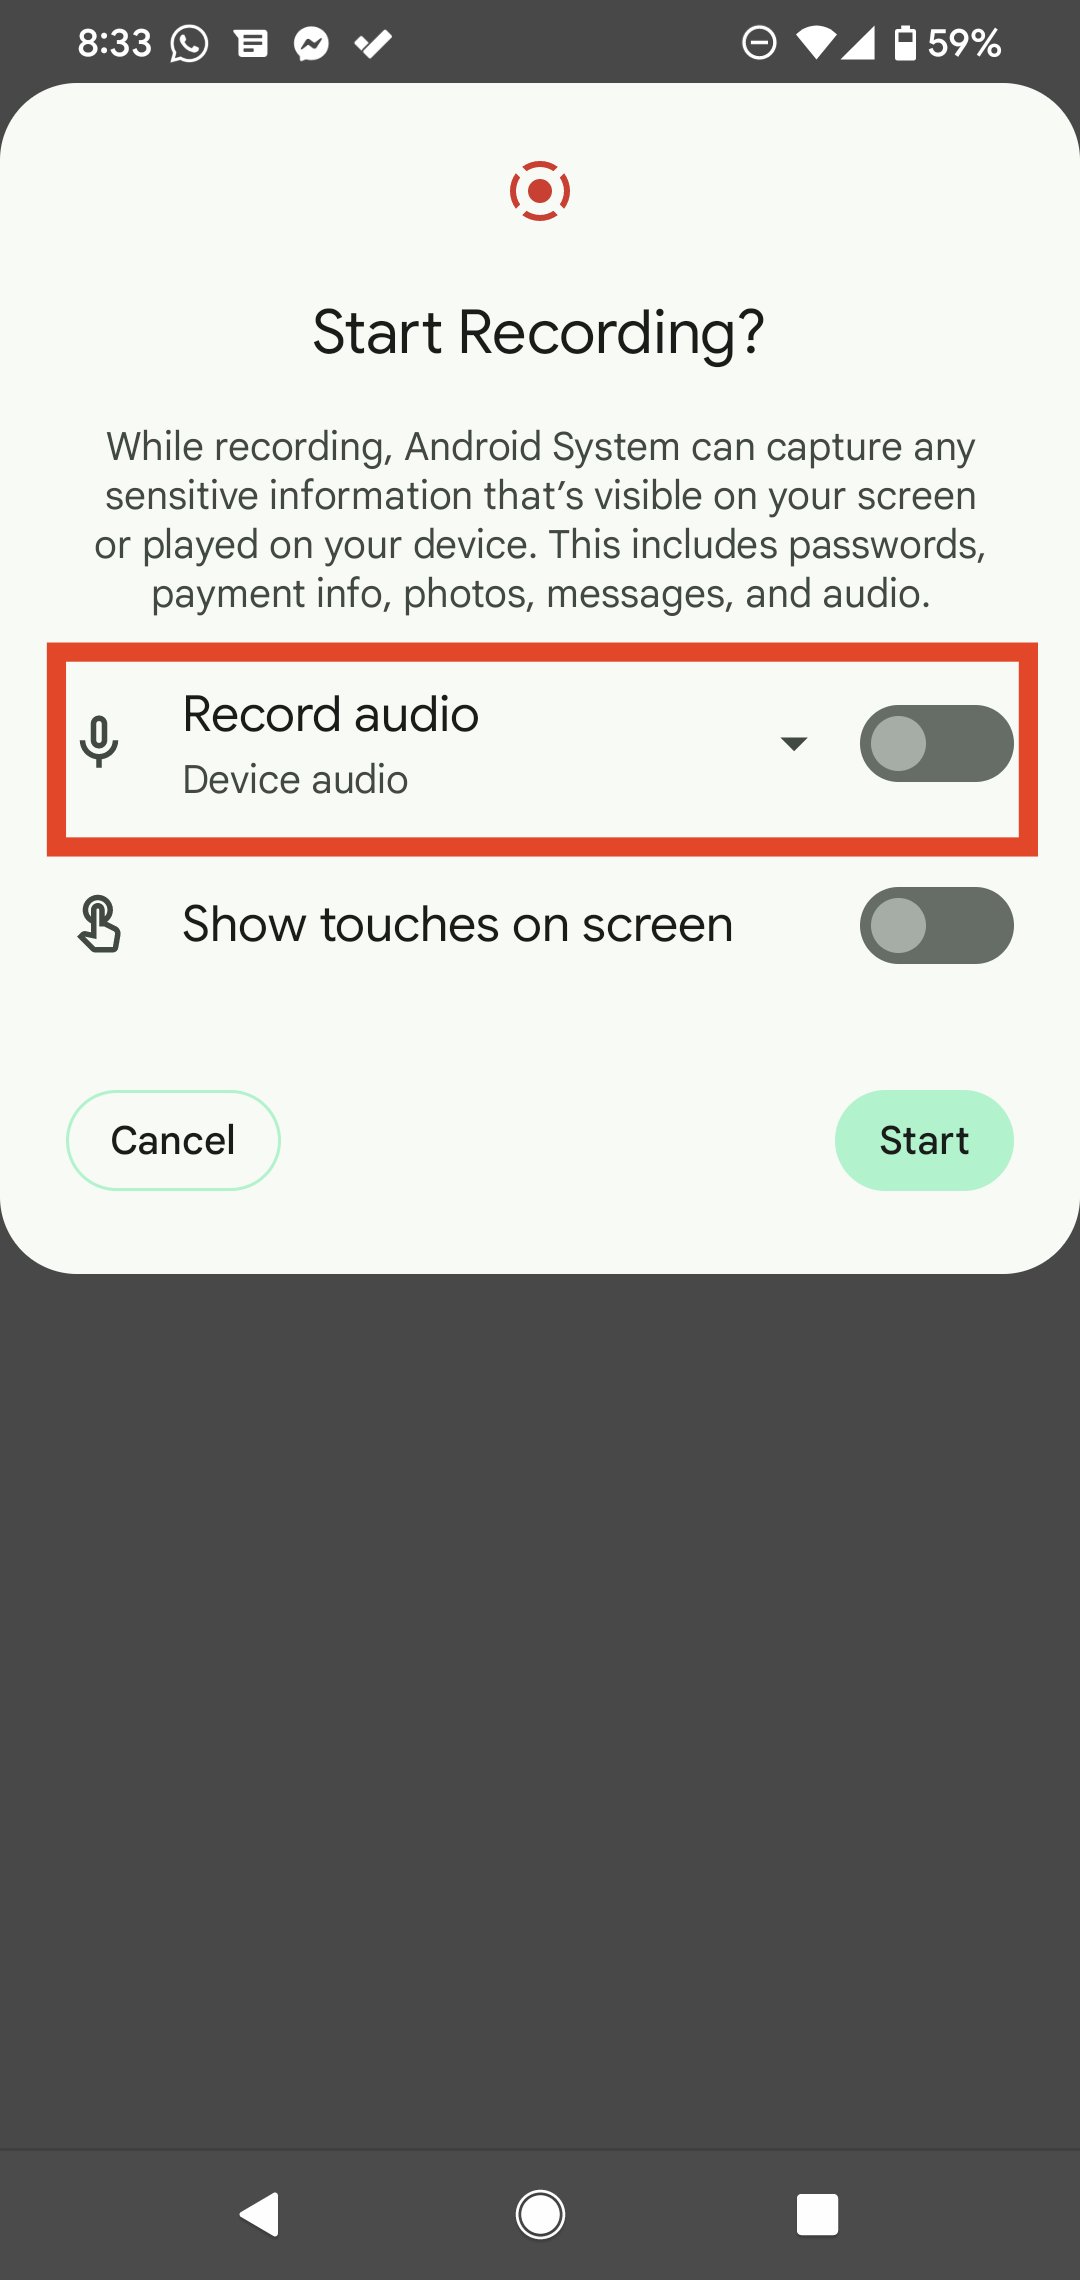
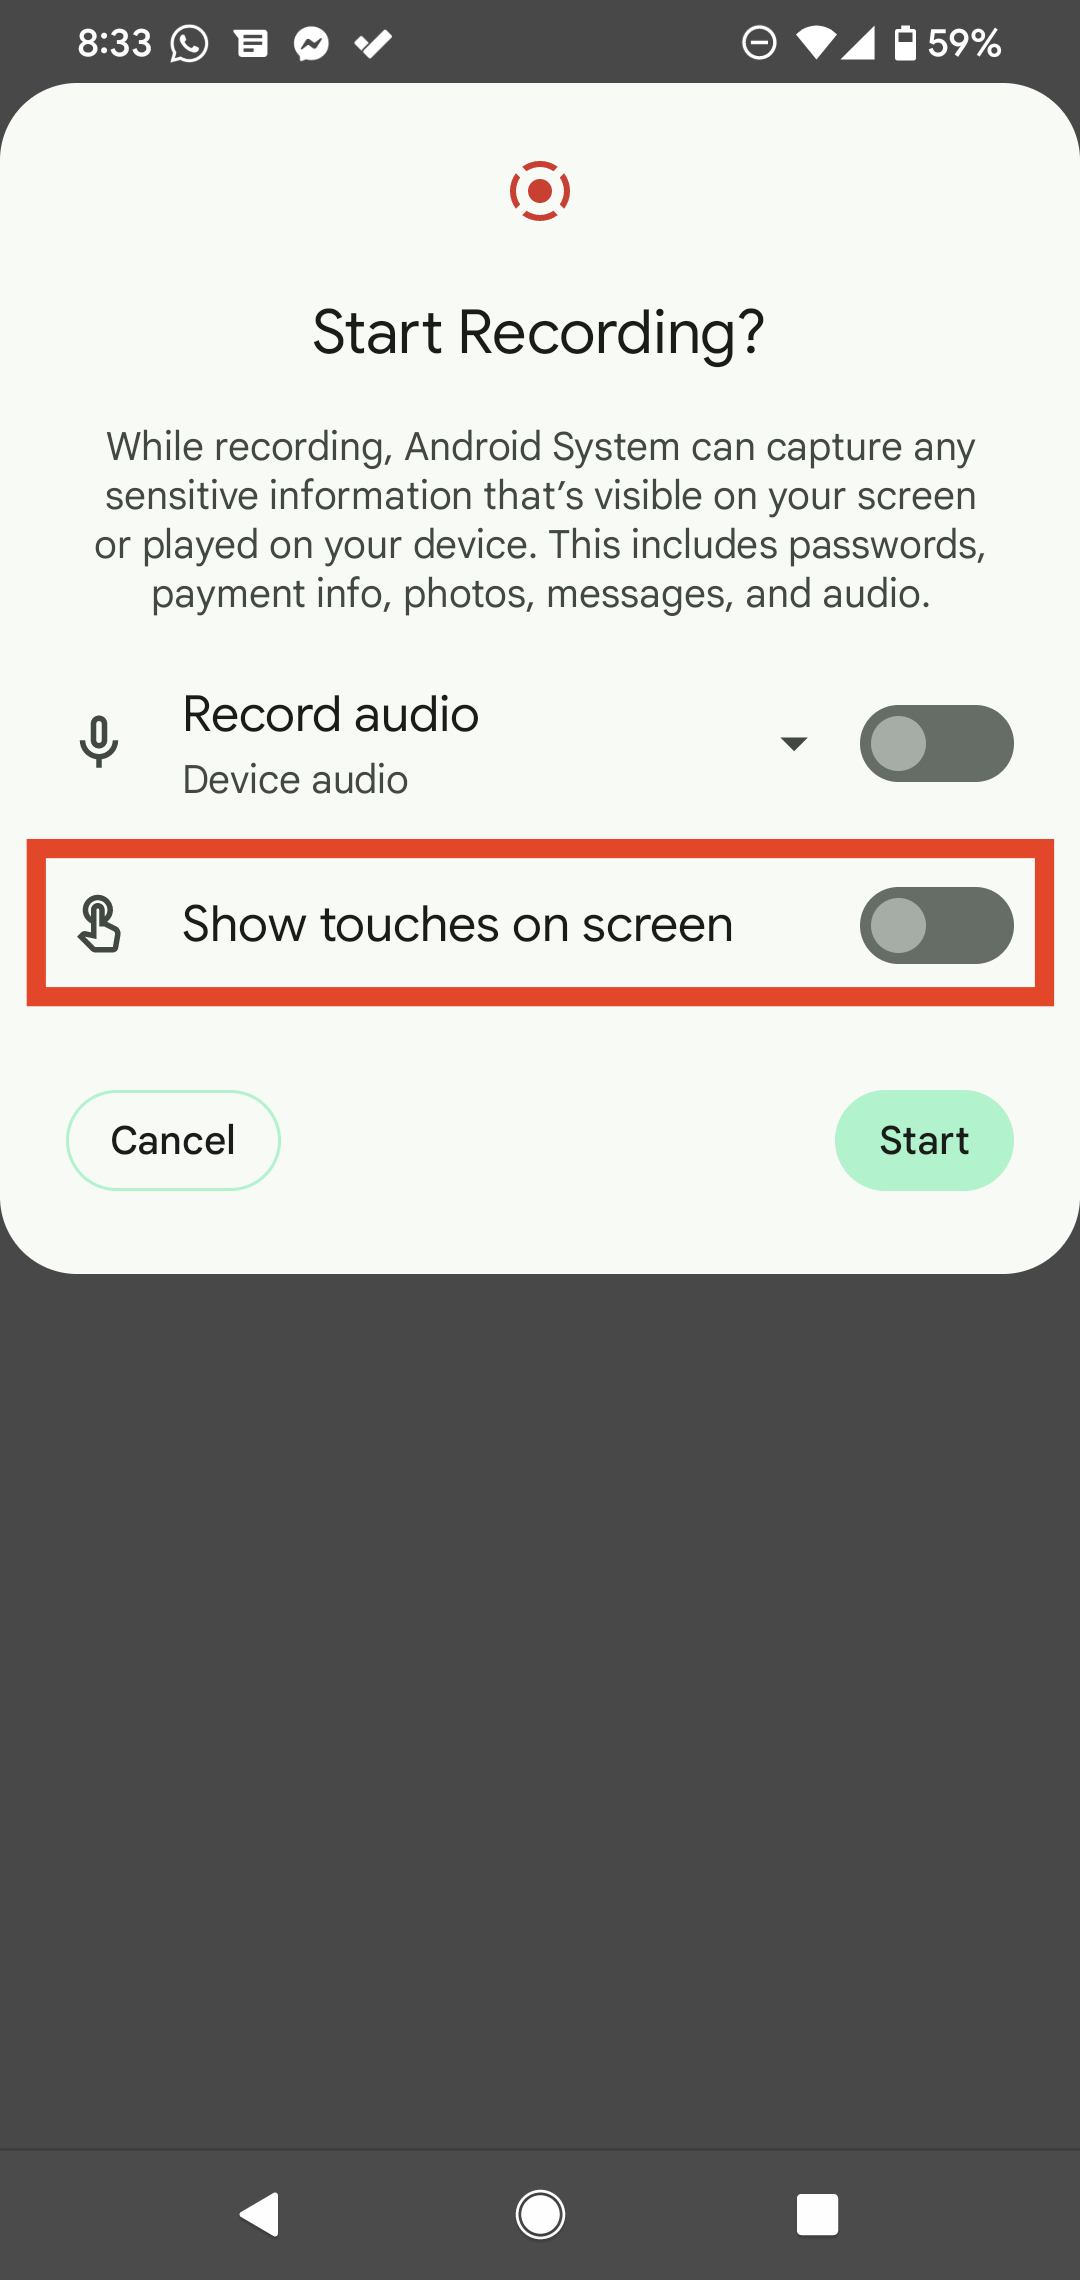
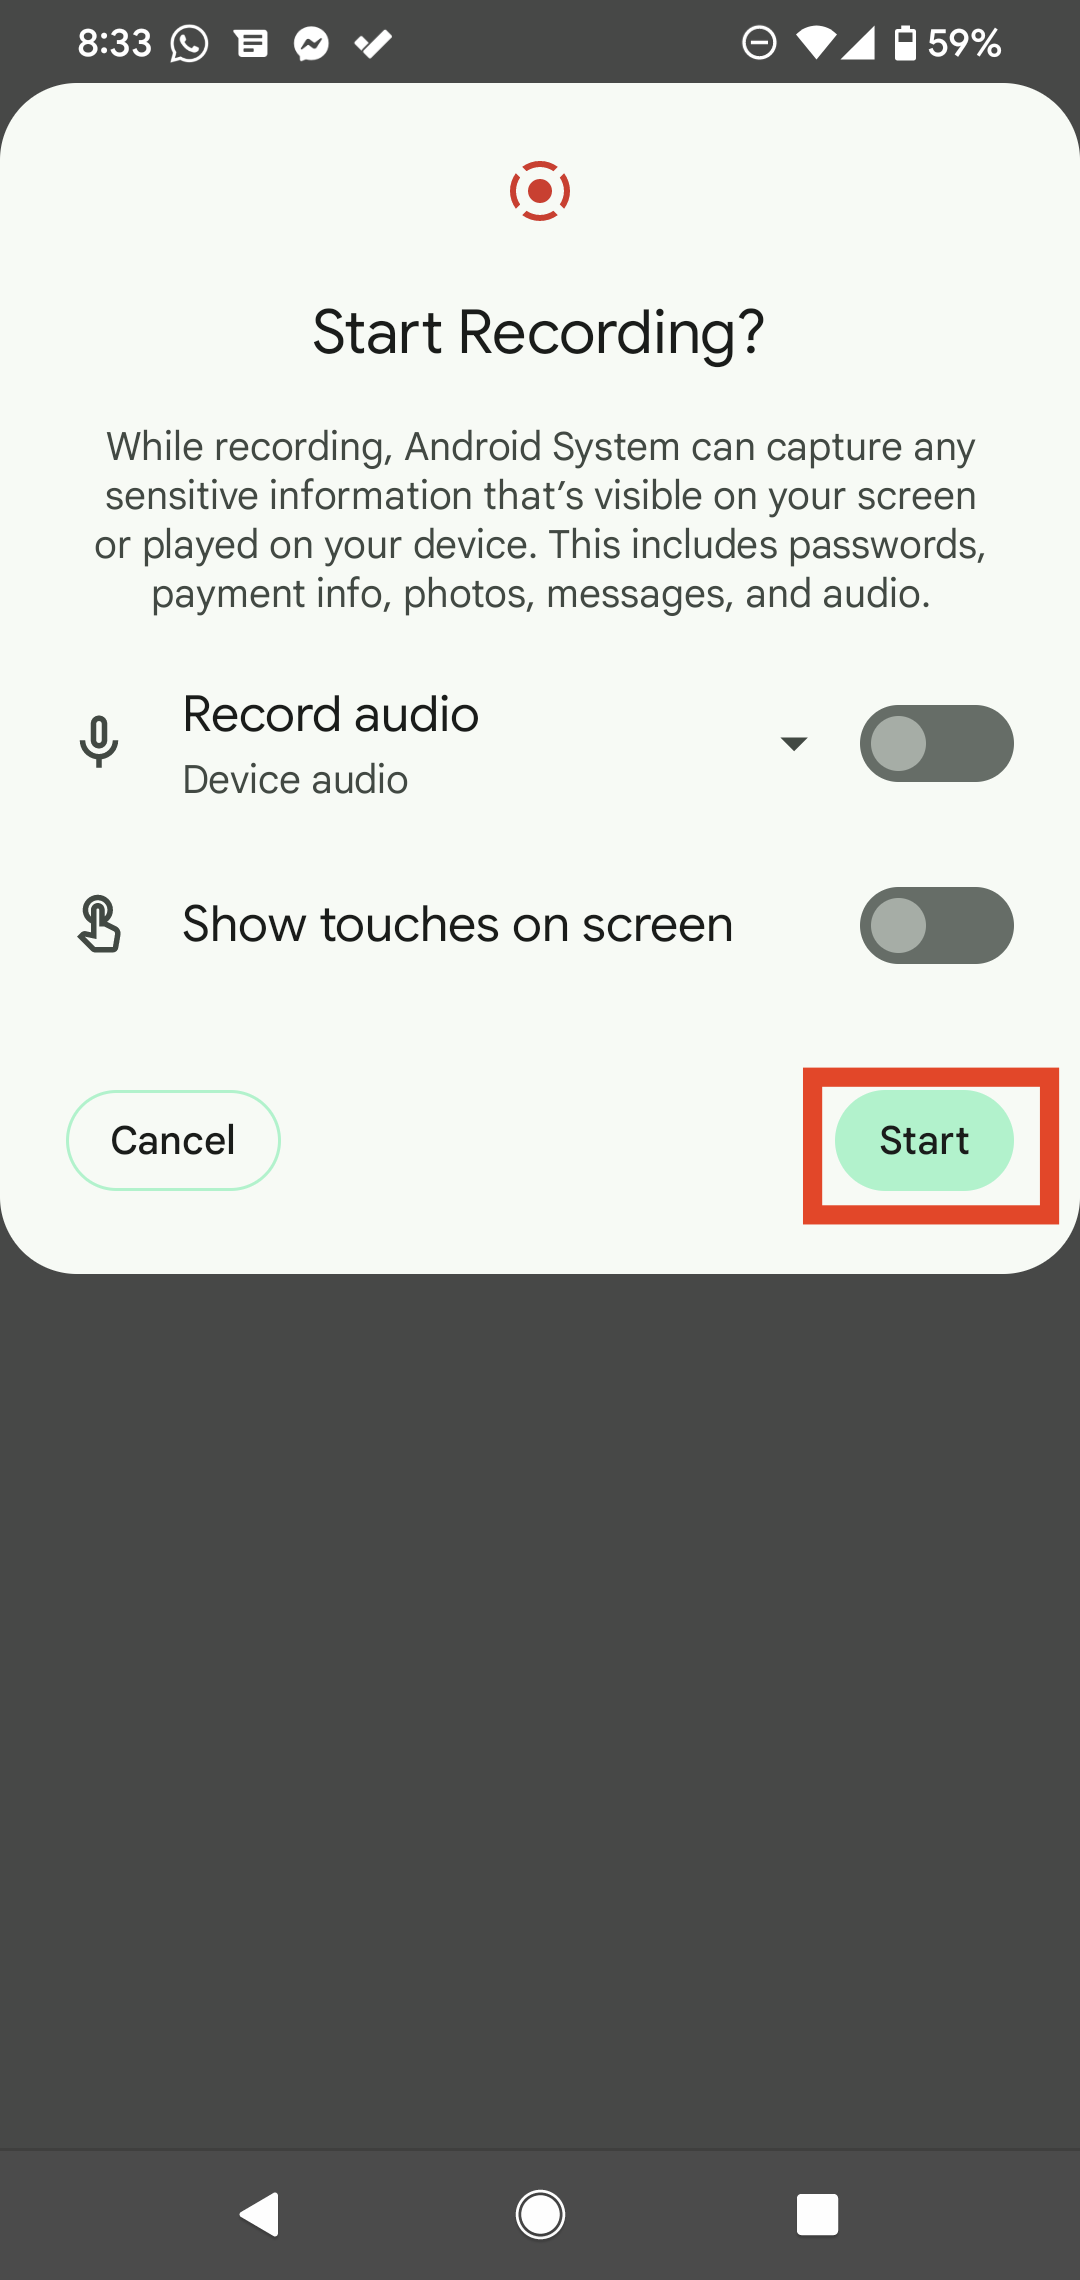
- In there, you will see some settings. Not too much. First one is recording the sounf if you enable it. Also you can select the source by tapping on it. Also you can enable the showing taps on screen like second photo. After all settings, you can start the recording via tapping “start” button.
Recording screen on AOSP ROMs (Android 9 and Below)
This versions of AOSP ROMs don’t has an in-built screen recorder. So you must record screen with 3rd party apps. An example this app.
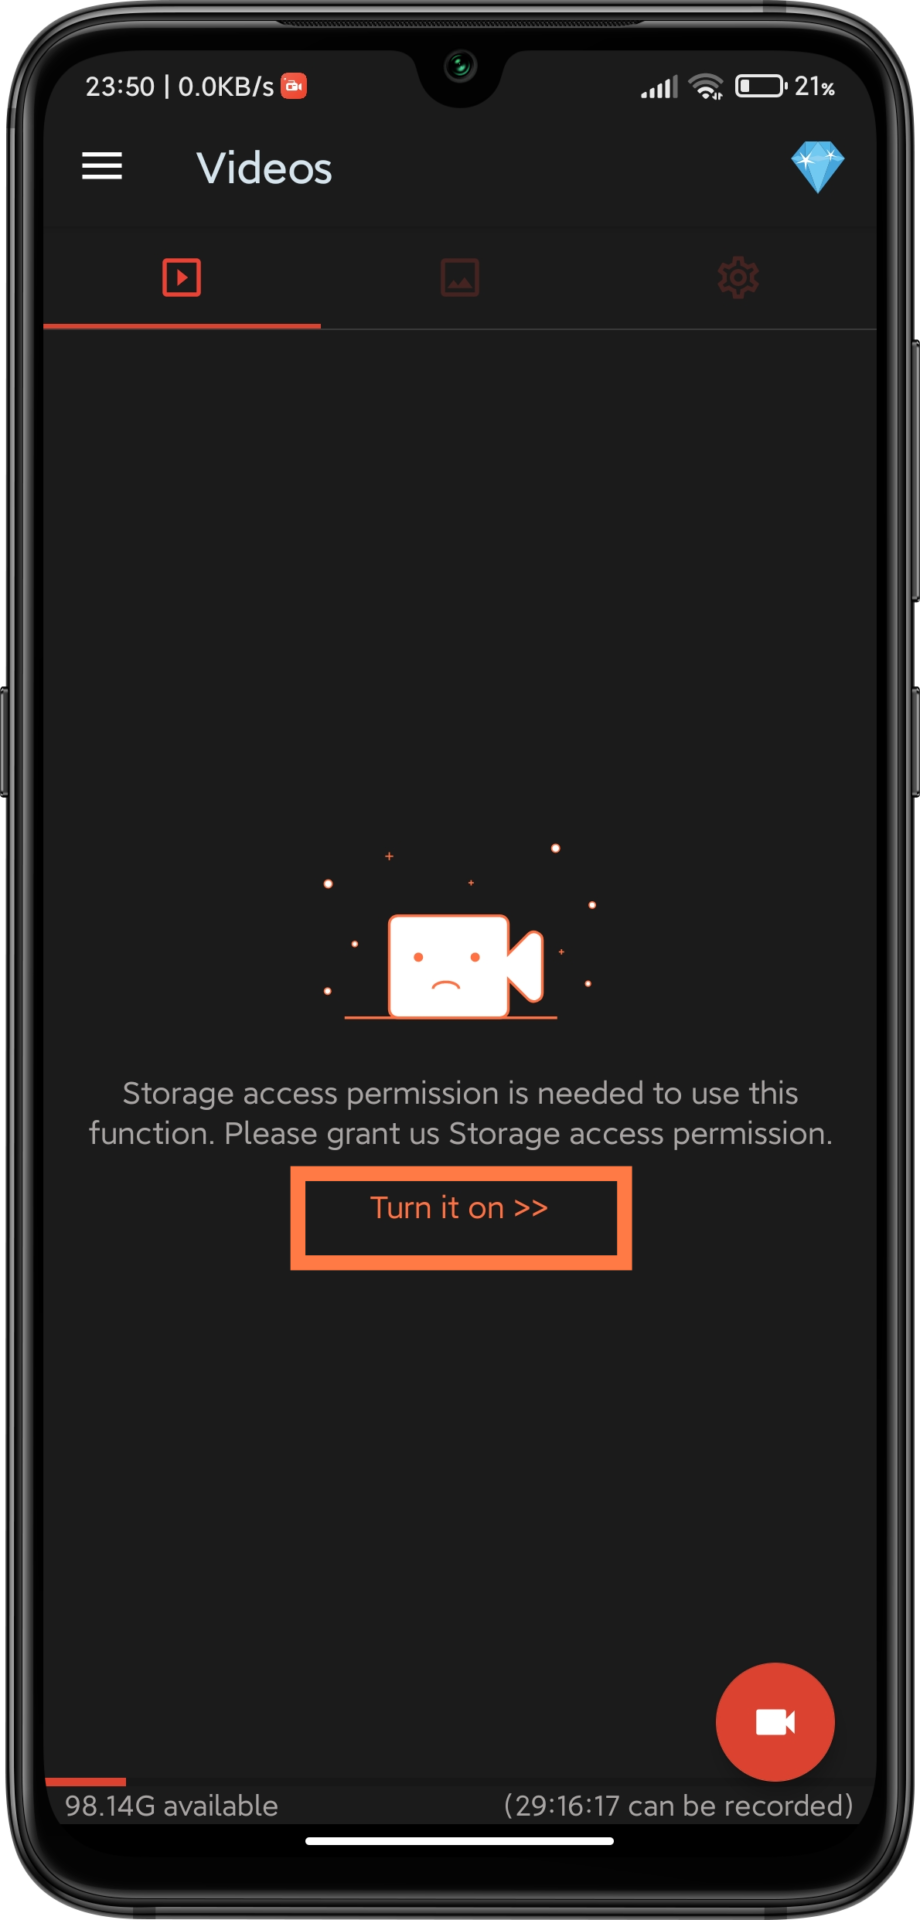
- Open the app and tap the marked button. If you want floating button for screen recorder, tap the “allow” button and give permission.


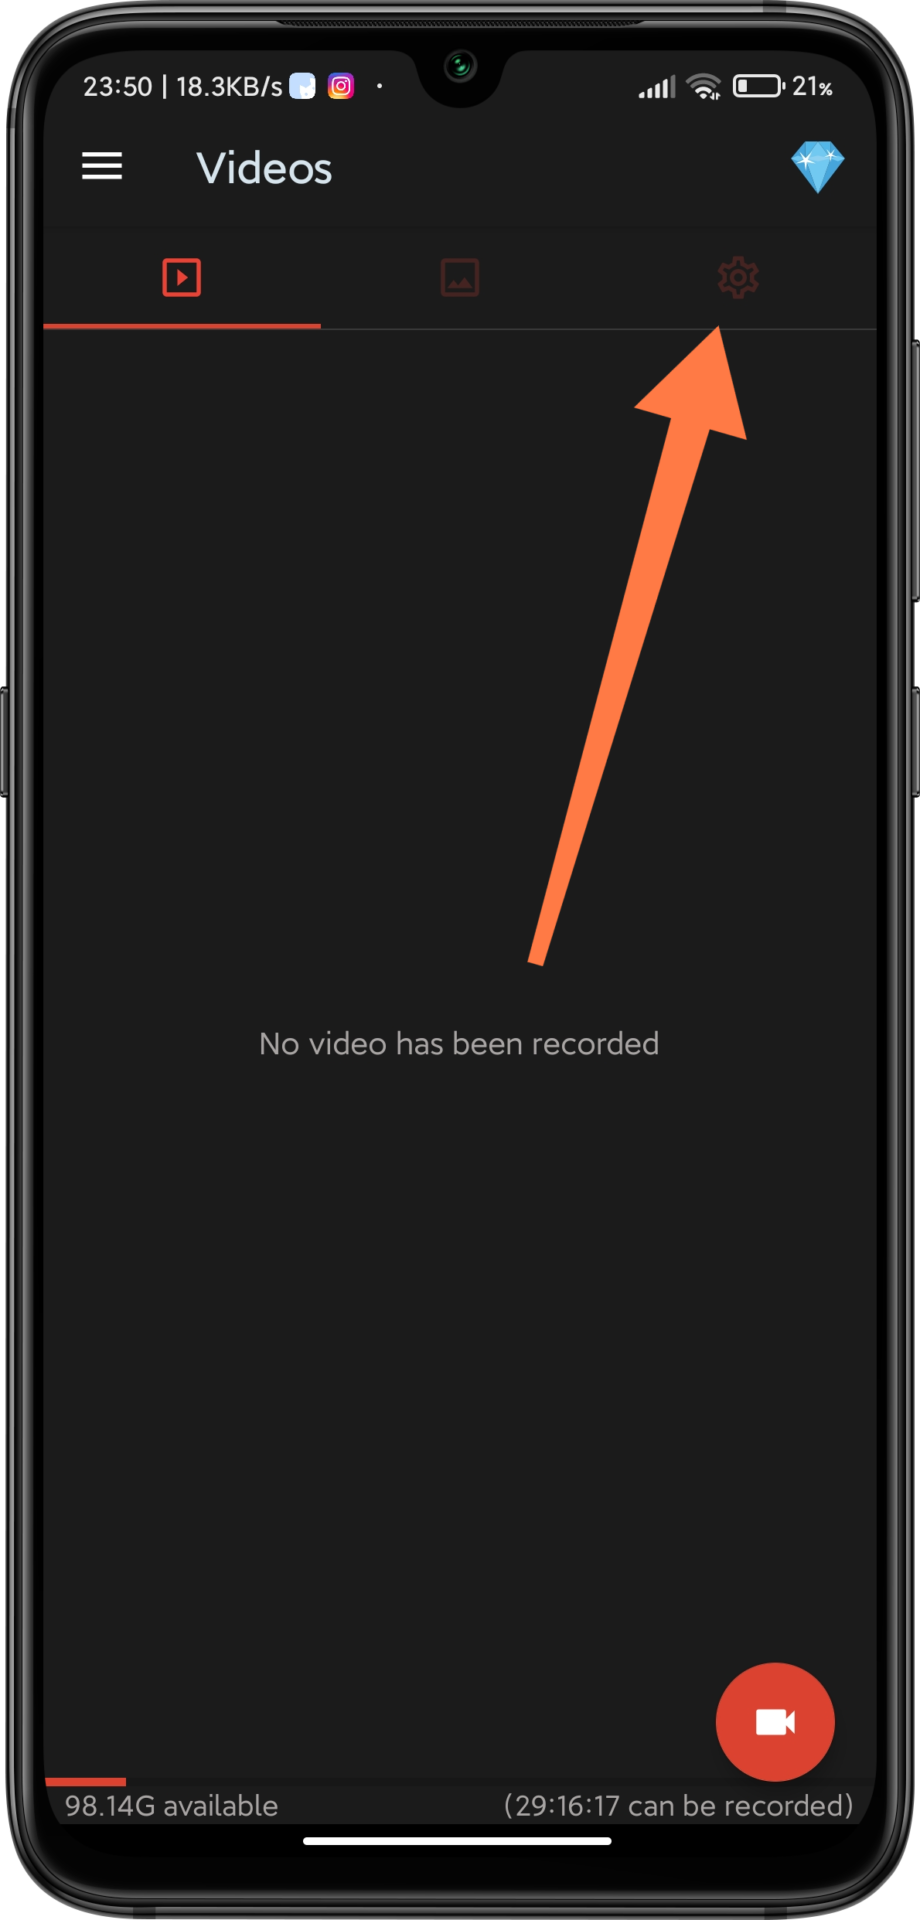
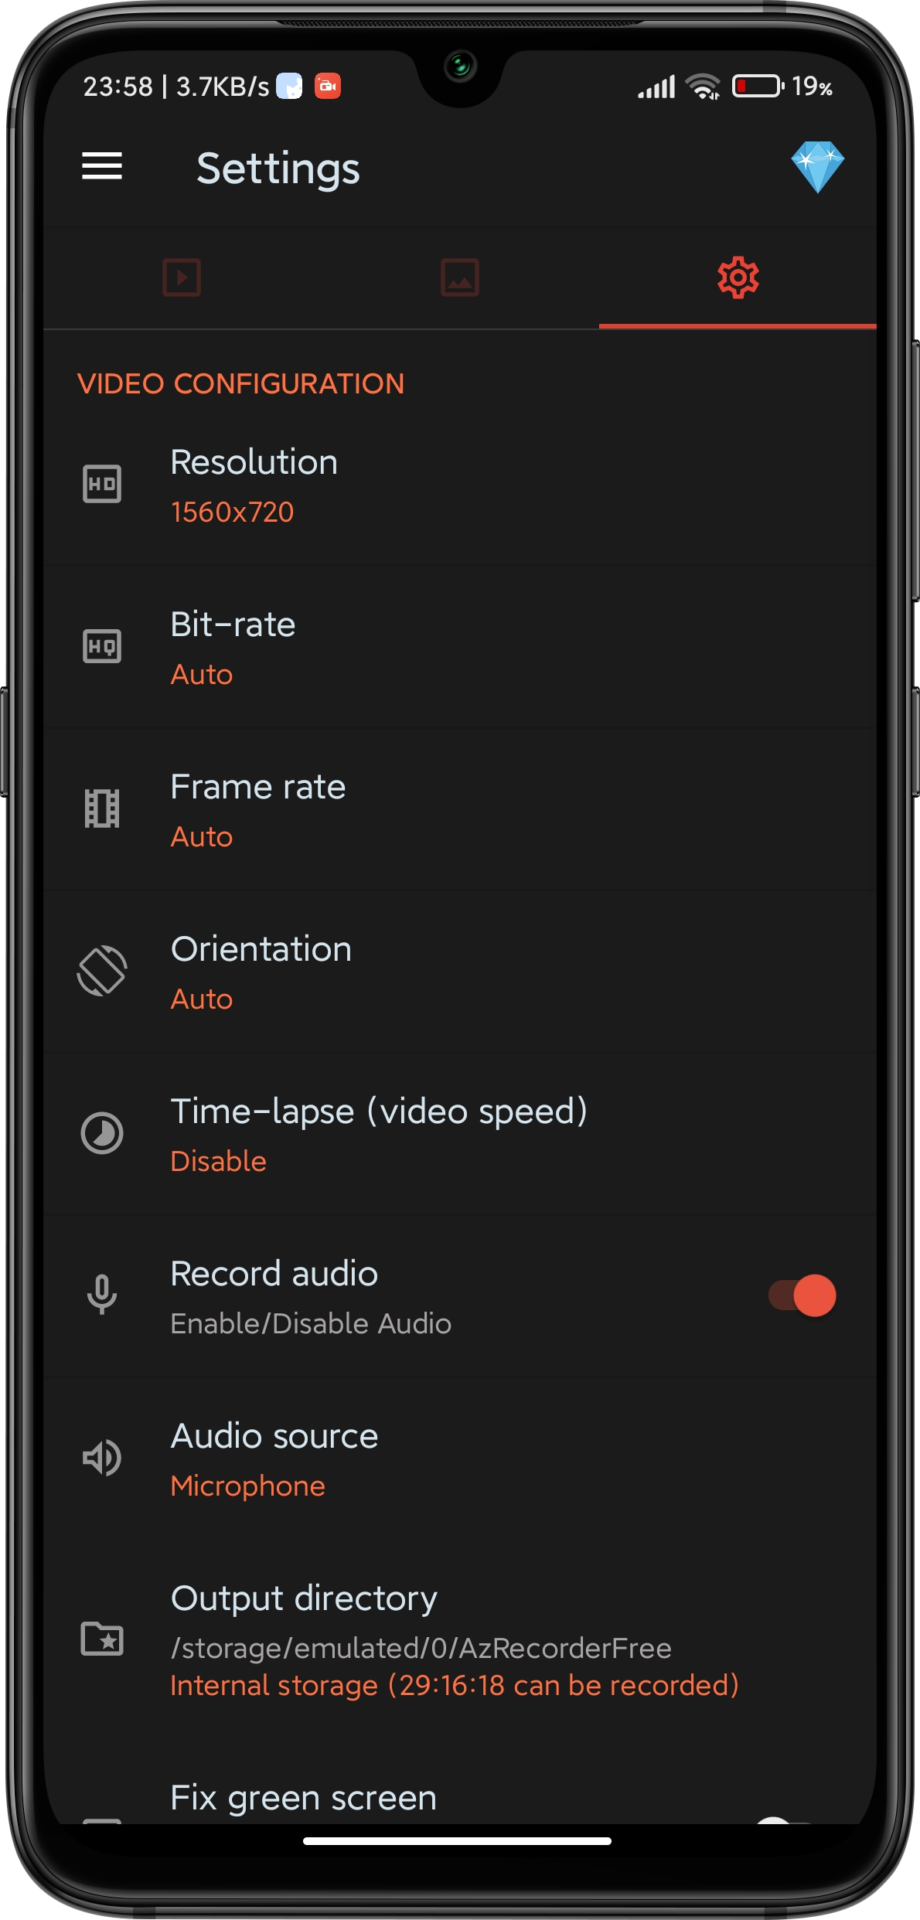
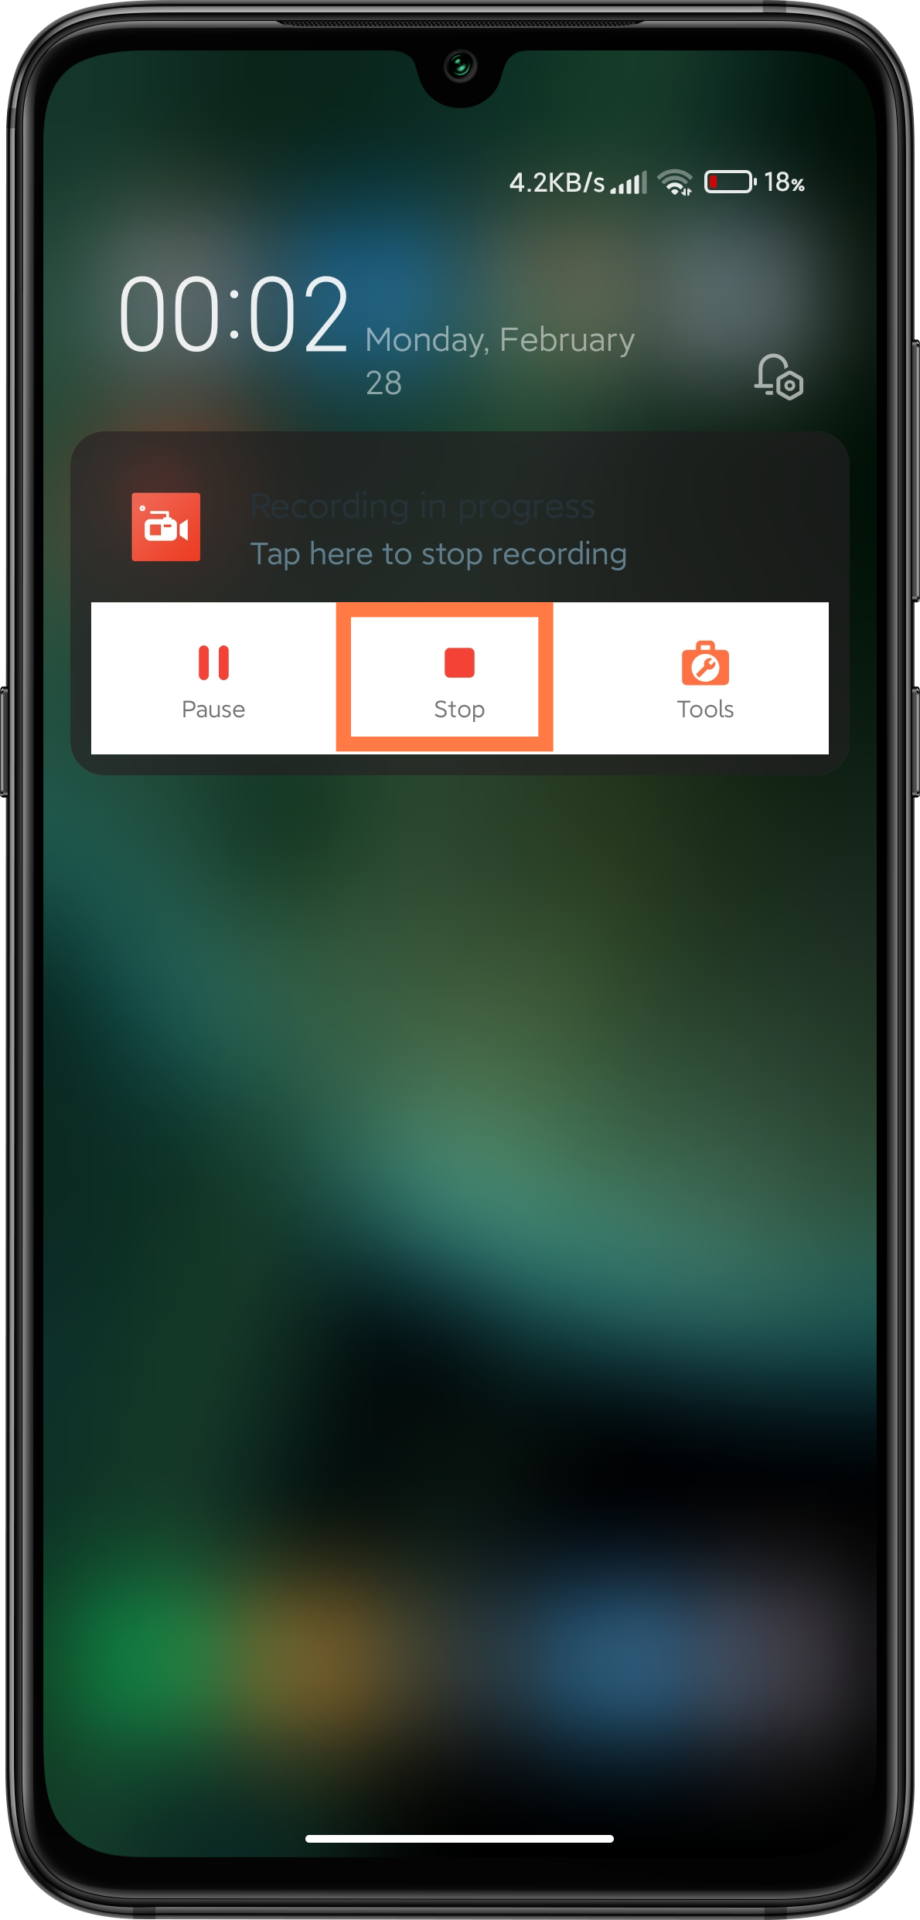
- Then tap the “turn it on” button for giving storage permission. And give storage permission. Then tap the settings button on right-top for setting bitrate, resolution and etc. For stopping the video, just press the stop button like last photo.