The Hackintosh scene has been flourishing since the dawn of Apple’s move to the Intel platform in 2006, and since AMD’s event in 2017, Ryzen Hackintoshes have been in the focus of the community, due to their performance over Intel with Ryzen, and the pure power that the Threadripper series carries. Now, both of these are powerful processors, but due to Apple’s move to their own silicon, the life of these Hackintoshes may not be long. But, for the time being, they’re still supported. So, today we’ll be writing our first (and hopefully only) guide on Ryzen Hackintoshes!
So, let’s get some information on the topic first.

What is a Hackintosh?
A Hackintosh, simply put, is a regular PC, running Apple software, through a bootloader (or more accurately, a chainloader) such as OpenCore or Clover. The difference between Clover and OpenCore is that Clover is more well known in the community, and has been used throughout the years, and OpenCore is the newer one, with more focus on stability. In this guide, we’ll be using OpenCore due to being better for AMD builds, as we’ll be using a Ryzen processor for this guide.
A Hackintosh is built off of 3 main parts. Your chainloader (OpenCore in this instance), your EFI folder, which is where your drivers, system configuration and chainloader is stored, and, the most legally challenging part, your macOS installer. On a Ryzen Hackintosh, you also need your kernel patches, but we’ll get to that later.
So, let’s get building.
How do I build a Ryzen Hackintosh?
So, to build a Hackintosh you will need a few things first.
- A processor compatible with macOS and OpenCore (check here)
- A graphics card compatible with macOS (check here, we will explain this in detail too)
- Basic knowledge of your hardware
- Patience
Once you have these, you should be fine to follow this guide. So, let’s get to hardware first.
Hardware support
As we mentioned before, Ryzen Hackintoshes are currently supported, and this guide is based on the AMD Ryzen platform, so if you have an Intel PC, we don’t recommend following this guide, however, you can if you want. Now that CPUs are out of the way, let’s get to graphics cards.
Now, AMD has been the preferred platform of Apple when it comes to graphics cards, since 2017. So, any Nvidia graphics card released after 2017 won’t be supported. Here is a list of supported graphics cards. Read this in detail, or you will mess something up.
- All GCN based graphics cards are currently supported (AMD RX 5xx, 4xx,)
- RDNA and RDNA2 is supported, but some GPUs may not be compatible (RX 5xxx, RX 6xxx)
- AMD APU graphics are not supported (Vega series that aren’t based on GCN or RDNA)
- AMD’s Lexa-based Polaris cards (such as the RX 550) are not supported, but there is a way to get them working
- Intel integrated graphics should be supported, on the current version, 3rd Generation (Ivy Bridge) through 10th Generation (Comet Lake) is supported, including Xeons
- Nvidia’s Turing and Ampere architectures aren’t supported in macOS (RTX series and GTX 16xx series)
- Nvidia’s Pascal and Maxwell architectures (1xxx and 9xx) are supported until macOS 10.13 High Sierra
- Nvidia’s Kepler architecture (6xx and 7xx) is supported until macOS 11, Big Sur
Now that you know which GPUs are supported, let’s get to the Ryzen Hackintosh guide.
Making the macOS Install Media
Now, this is the most legally challenging part of building a Ryzen Hackintosh, as there are multiple issues with acquiring a macOS installer.
- You’re not installing macOS on official hardware
- You’re (most likely) not going to use it on a real Mac
- You will need a real Mac if you’re going to go the official way
You can get macOS easily, if you use a real Mac. Just go to the App Store and search for the version you want to install, and boom. You have a macOS installer. However, if you’re going to use your PC, you need to use a tool like MacRecovery or gibMacOS. In this guide we will be using gibmacOS.
First, download gibmacOS from the Github page by clicking the green code button and clicking “Download zip”. Keep in mind that this script will require Python to be installed, however the app will prompt you to install it.

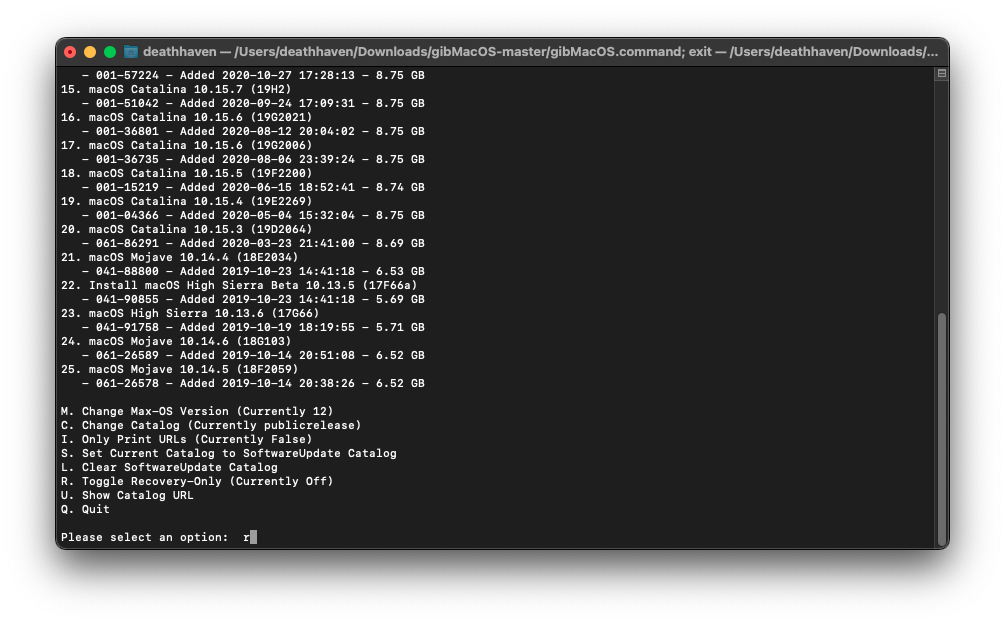
Next, extract the zip, and open the gibmacOS file that is related to your operating system. (gibmacOS.bat for Windows, gibmacOS.command for Mac and gibmacOS for Linux or universal.) Once you install Python and finish loading, hit the R key on your keyboard and hit enter, to switch the downloader to “Recovery-Only” mode. This will let us get smaller images to save bandwidth for the time being.
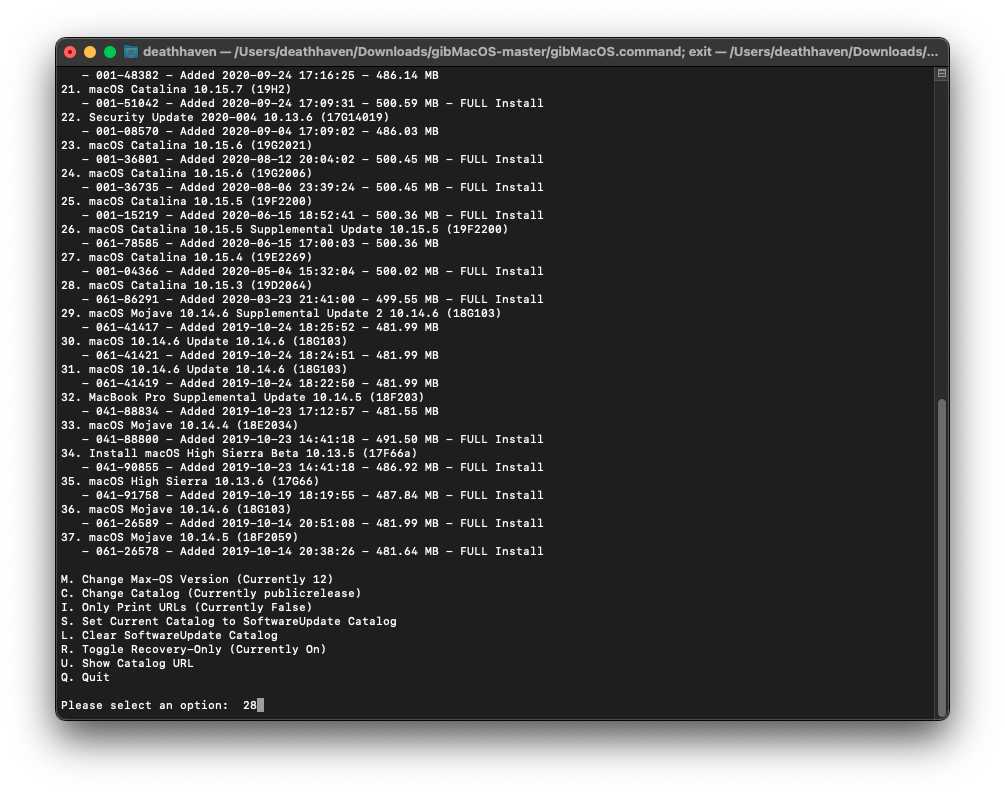
After that, once it loads all the macOS Installers, select the version you want. For this guide we’ll be using Catalina, so we type 28 into the prompt, and hit enter.
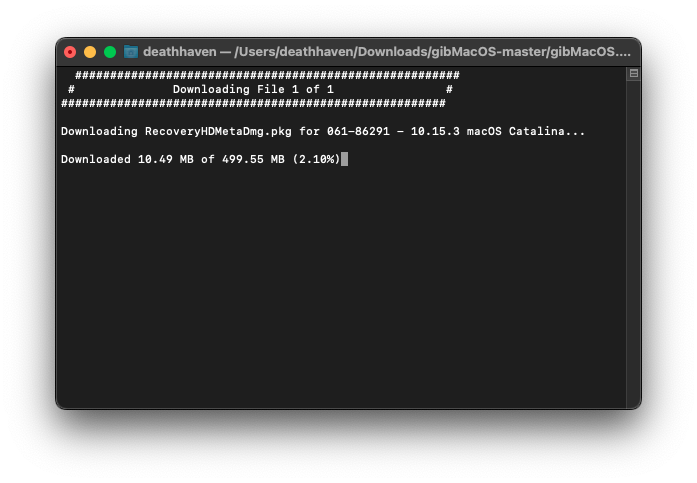
Once we’re done with that, the installer will start downloading, and we will get to the next step, which is burning the installer to our USB drive. For this we need to open the MakeInstall.py file that came with gibmacOS. Follow the onscreen guide, and burn the installer to your USB drive. This will make two partitions on your USB, the EFI and the Installer.
Next up, setting up our EFI.
Setting up the EFI folder
The EFI is basically what holds all our drivers, ACPI tables, and more. This is where the fun begins. We will need four things to setup our EFI.
- Our drivers
- Our SSDT and DSDT files (ACPI tables)
- Our Kexts (kernel extensions)
- Our config.plist file (system configuration)
To get these, we normally recommend the Dortania OpenCore Install guide, linked here. However, we will list the required kexts here anyway.
For Ryzen Hackintoshes, these are the required Drivers, Kexts and SSDT/DSDT files. All of the files are linked in their name.
Drivers
Kexts
- AppleALC/VoodooHDA (Due to limitations with Ryzen, on AppleALC your onboard inputs will not work, and VoodooHDA has worse quality.)
- AppleMCEReporterDisabler (Disables the MCE Reporter in macOS, required for macOS 12. Do not use on 11 and below.)
- Lilu (Kernel patcher, required on all versions.)
- VirtualSMC (Emulates the SMC chipset found on real Macs. Required on all versions.)
- WhateverGreen (Basically a graphics driver patcher.)
- RealtekRTL8111 (Realtek ethernet driver. Most AMD motherboards use this, however if yours is different, replace with according kext.)
SSDT/DSDT
- SSDT-EC-USBX-DESKTOP.aml (Embedded controller fix. Required on all Zen processors.)
- SSDT-CPUR.aml (Required for B550 and A520 boards. DO NOT USE IF YOU DON’T HAVE ONE OF THESE.)
Once you have all of these files, download the OpenCorePkg, and extract the EFI from the X64 folder inside the zip, and set up the OC folder inside the EFI according to the files you downloaded. Here is a reference.

Once you’ve set up and cleaned your EFI, its time for the config.plist setup. We won’t be going into detail on how to do this since it depends on your hardware, and isn’t a one-stop-solution for all devices. You can follow the Dortania guide’s config.plist setup section for this. From this point on, we’ll be considering that you set up your configuration accordingly and put it in the EFI folder.
Once you’re done with all that, you have a working USB for your Ryzen Hackintosh. Plug it into your Ryzen Hackintosh, boot into the USB, and install macOS as you would on a real Mac. Note that the setup will take a while, and your computer will reboot a lot. Do not leave it unsupervised, as it might crash a few times as well. Once the setup is done, you will (hopefully) be greeted with a screen similar to this.

And, we’re done! You have a working Ryzen Hackintosh! Finish the setup, check what is and isn’t working, and go hunting for more Kext files and solutions if anything isn’t working. But, you have officially gotten through the hard part of the setup. The rest is quite easy. We will link the EFI we used for 2nd and 3rd Generation Ryzen 5 down below, so that if you have a 6 core CPU and similar motherboard, you can try it out without going through the hell of setting up an EFI, though we do not encourage the use of this EFI due to instability and being a generic EFI.
So, what do you think about this guide? Will you be making a Ryzen Hackintosh any time soon? Let us know in our Telegram channel, which you can join here.